After I got this book for Christmas I decided to make gifts for baby showers from it.

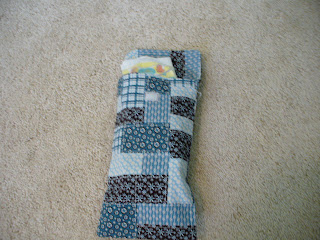
The book had a changing pad and diaper pouch in it. I didn't get pictures of making the changing pad but here is the final product.

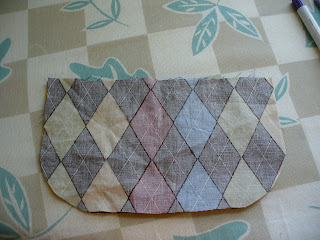
For the pouch, I sewed the interior and exterior sleeves. Turned the exterior one right side out and ironed it.
Then, I sewed the flap, turned it right side out, ironed it, and added the velcro.

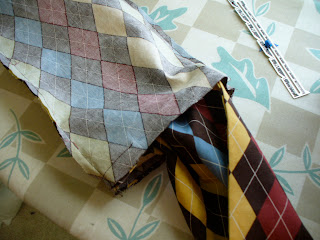
Then, put the exterior sleeve inside the interior sleeve, with the flap in the center. Then, stitched it closed, leaving 4" open on the side without the flap and then pulled the bag through so it was right side out.
Next, I edge stitched around the top, closing the opening and added the other side of the velcro.
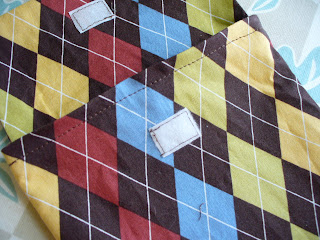
Finished pouch in the other pattern with diapers in it:
I also thought the gift needed something else so I found directions for
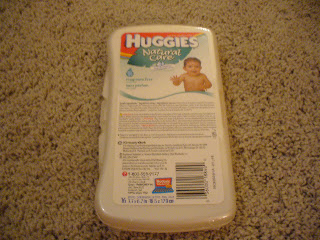
this wipe case. I almost didn't find the wipe case since Wal-Mart was out of them the first time but I finally found them at Walgreens.
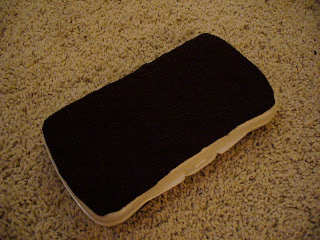
Then, I added the felt.
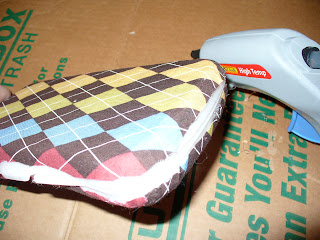
The fabric - and yes, I was hot glueing on a U-Haul box to protect the carpet.
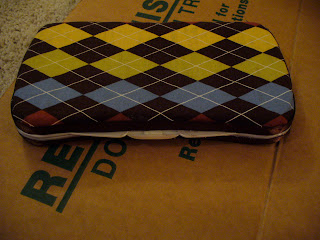
and the ribbon:
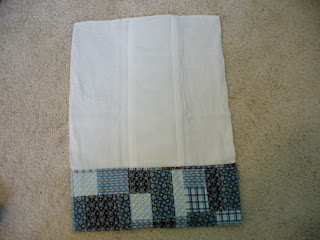
My mom also had the idea to make some burp cloths from left over fabric. We bought pre-folded cloth diapers and at first, used
this blog for the "how-to". I didn't get any pictures of the first set of these gifts I made and didn't use the ribbon for the other cloths because I was having trouble with it - so mine is a little different than hers. I just stitched up the sides, and ironed it down 1/2":
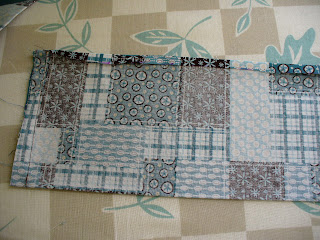
Then I put it over the bottom of the diaper and stitched it all the way around the fabric so it wouldn't curl up when it is washed a million times.
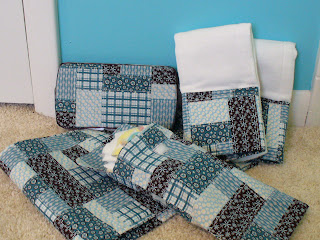
2 of the 3 gift sets:


